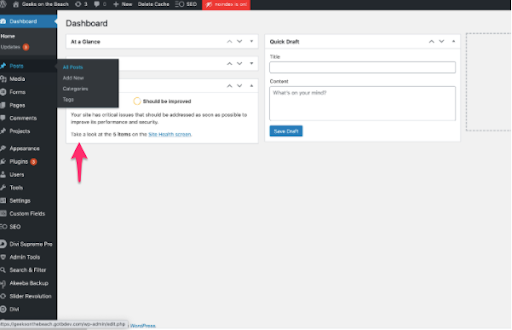
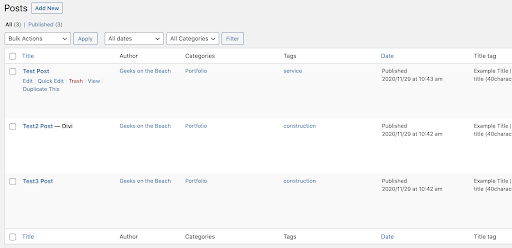
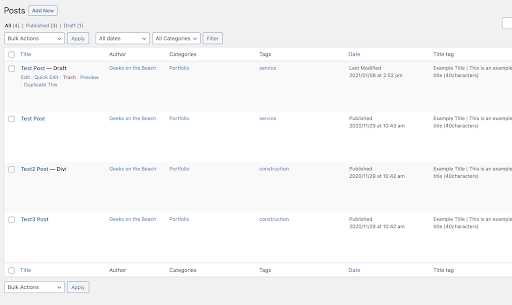
How to publish and unpublish existing posts
- Navigate to Posts in your Dashboard and select All Posts
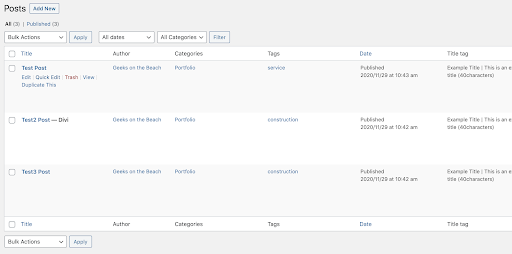
2. Select the post you would like to publish or unpublish
3. Select Quick edit next to the desired post
4. Under Status, select Draft to unpublish and Published to publish in the dropdown menu
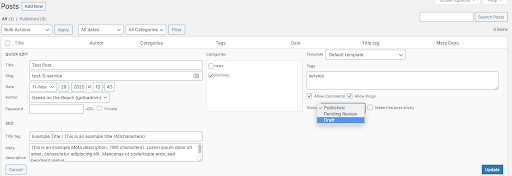
5. To save changes, click Update
How to change your post’s featured image
- Navigate to Posts in your dashboard and select All Posts
- Select the post you would like to edit
- Select Edit on the desired post

4. Scroll down until you see the Featured Image module at the bottom right as seen in the image below.
5. To change the image: Click the image to edit or update
6. To add an image: Click the button Set Featured Image
7. Select either Upload Files or Media Library
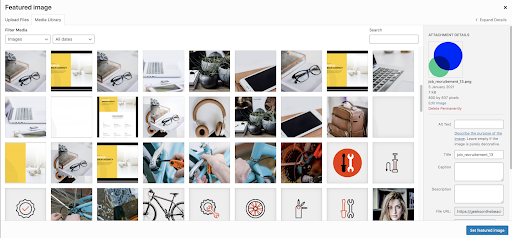
6. Select Set Featured Image in the bottom right corner
How to add new post categories or change your posts’ category
1. Navigate to Post in your dashboard and select All Posts
2. Select the post you would like to edit
3. Select Edit
4. Scroll down the page and find the category box on the left
5. To change your post’s category simply check or uncheck the corresponding
boxes
6. To add a new category, click Add New Category in the bottom right hand corner
How to add new posts
We recommend having GOTB set up your first post for you to ensure the routing and display of your posts are set according to your expectations. This is how you add new posts based on the example post set by GOTB. The idea is to simply duplicate an existing post that already has the correct settings & to simply alter the content and images:
-
-
- Navigate to Posts in your dashboard and select All Posts
- Select the post you would like to duplicate
- Select Duplicate This on your desired post
4. Your duplicated post will appear as a draft, which means it will not yet be published to your users
-
- 5. Select Edit
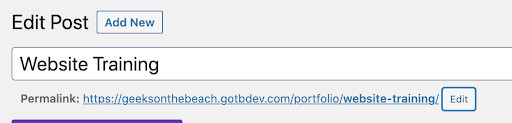
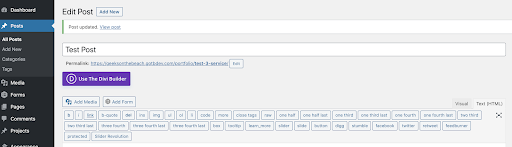
6. Change title and slug (URL) of your post: Simply overwrite the old title in the text box
and click the edit button to alter the slug.
- Permalinks are the permanent URLs to your individual pages and blog posts, as well as your category and tag archives.
- Slugs are the URL-friendly names of your posts, pages, categories, and tags.
When writing your slug, ensure that you use only lower-case letters and fill any gaps with a hyphen: e.g. “website-training” rather than “Website Training”

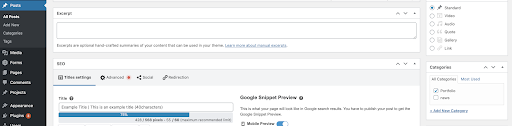
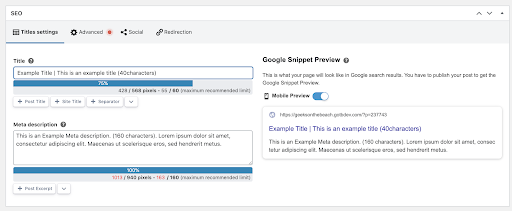
7. Write your post’s Meta description & title:
- A meta description is an element in the HTML code of a web page that provides a brief description of the content of that page. Although the visitors of a website cannot see it directly, search engines such as Google use it to display a web page in search results, as seen on the right in the screen capture below.
- Your title should be no shorter than 40 and a maximum of 60 characters long.
- Your Meta description should not exceed 160 characters to be fully shown in the search result.
8. Set the featured image: Follow steps in How to change your posts featured image
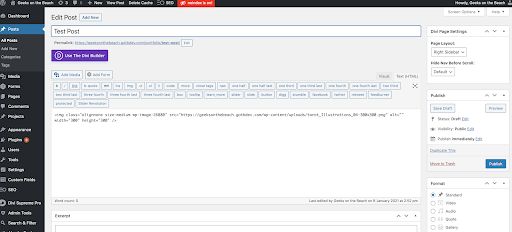
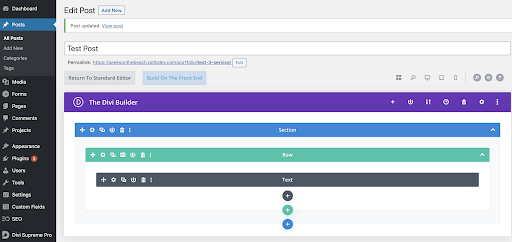
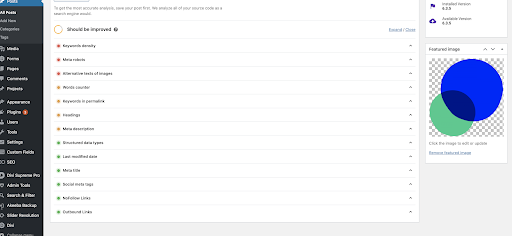
How to edit text and images in your post
- Navigate to Posts in your dashboard and select All Posts (See 3) a) 1.)
- Select the post you would like to edit
- Select Edit (See 3) b 3.)
- Select Use the Divi Builder
5. Select Build On The Front End
6. Edit the text module as explained in 4) d) How to edit text and images in your post
7. Exchange image as explained in 4) a) How to replace an image